Setting Up Your Shopify Cart for Maximum Revenue: A Step-by-Step Guide
Your Shopify cart is the last stop before checkout, and most merchants barely customize it. That's a missed opportunity. According to Baymard Institute, the average cart abandonment rate sits at 70.22%—meaning roughly 7 out of 10 shoppers leave without buying. Many of those drop-offs happen because of friction, uncertainty, or a lack of incentive right there in the cart.
The good news? You can address most of these issues in under 30 minutes. This guide walks you through five quick wins that turn your cart from a basic checkout step into an active revenue driver.
Step 1: Brand Your Shopify Cart Drawer
Your cart should look like it belongs to your store, not like a default template. A branded cart builds trust and keeps the shopping experience consistent from product page to checkout.
Start with these essentials:
- Colors — Match your cart's header, background, and button colors to your brand palette. Your checkout button should stand out clearly against the rest of the cart.
- Display type — Choose between a traditional full-height drawer or a floating overlay style. Traditional works well for stores with longer carts; floating feels lighter and more modern.
- Typography — Your cart automatically inherits your theme's fonts, but you can fine-tune text colors to ensure readability against your chosen background.
In EliteCart, head to Cart Designer → Design → Colors & styles to configure all of this in one place. Use the live preview on the right to see changes before saving.
Time to complete: 5-10 minutes.
Step 2: Add a Reward Bar
A reward bar is one of the highest-impact features you can add. Instead of a static banner saying "Free shipping over $50," a dynamic progress bar tells customers exactly how much more they need to spend: "You're $12 away from free shipping."
This works because of the goal-gradient effect—people are more motivated to reach a goal the closer they get. Research shows that 58% of consumers add items to their cart specifically to qualify for free shipping, and stores using progress-based reward bars commonly report meaningful increases in average order value.
Here's how to set yours up:
- Go to Cart Designer → Rewards & free shipping
- Enable Reward 1 and choose a type: free shipping, discount, or free gift
- Set your threshold (a good starting point is 20-30% above your current average order value)
- Customize the bar's colors under the Settings & design tab
Pro tip: Consider enabling a second reward tier. For example, free shipping at $50 and a free gift at $100. Tiered rewards keep customers motivated even after they've hit the first threshold. EliteCart supports up to three reward tiers with different reward types for each.
For stores selling internationally, you can set market-specific thresholds so your $50 threshold in the US doesn't apply to customers in Europe where shipping costs differ.
Time to complete: 5 minutes.
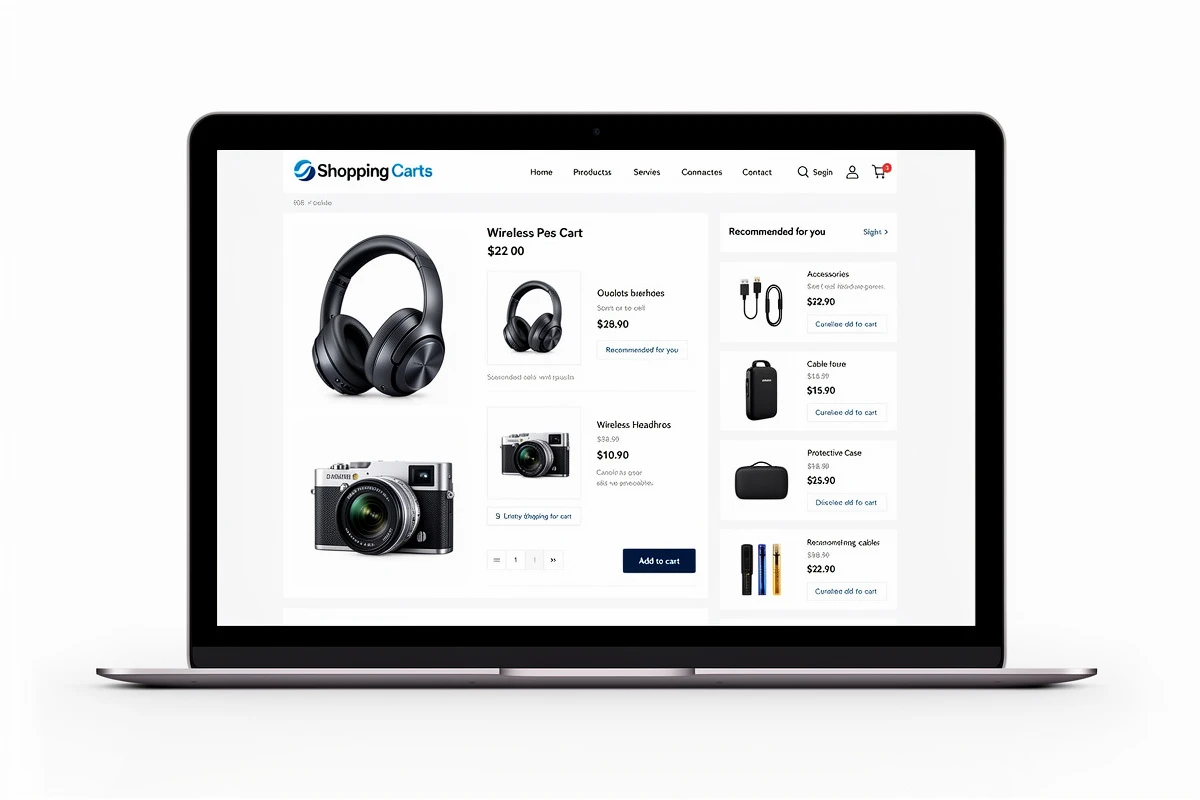
Step 3: Configure 2-3 Upsell Flows
Upsells are where your cart starts actively generating revenue. Instead of hoping customers browse more on their own, you suggest complementary products at the moment of highest purchase intent.
The key is relevance. Random product suggestions get ignored. Targeted recommendations based on what's already in the cart convert.
Setting Up Your First Flows
Go to Upsells → Manual upsells and create your first flow:
- Name your flow — Something descriptive like "Running Shoes → Socks & Insoles"
- Set the trigger — Choose which cart products activate this flow. You can trigger on specific products, entire collections, or show to all customers
- Select upsell products — Pick 3-6 complementary items that make sense with the trigger products
- Choose a display type — Gallery of 3 is a good default for visual products; carousel works well for stores with many options
Flow Ideas to Get Started
- Accessory flow — Trigger on main products, upsell accessories (phone case → screen protector, charger)
- Bundle builder — Trigger on any product in a collection, upsell other items from the same collection
- Best sellers — Set trigger to "all products" as a catch-all for when no specific flow matches
Two to three well-targeted flows will cover most of your catalog. You can always add more later as you see what performs. For guidance on choosing the right products, check the product selection guide in our help center.
If you want recommendations without manual setup, EliteCart's EliteAI feature automatically suggests relevant products based on what other customers have purchased together. You can combine AI with manual flows for full coverage.
Time to complete: 10-15 minutes for 2-3 flows.
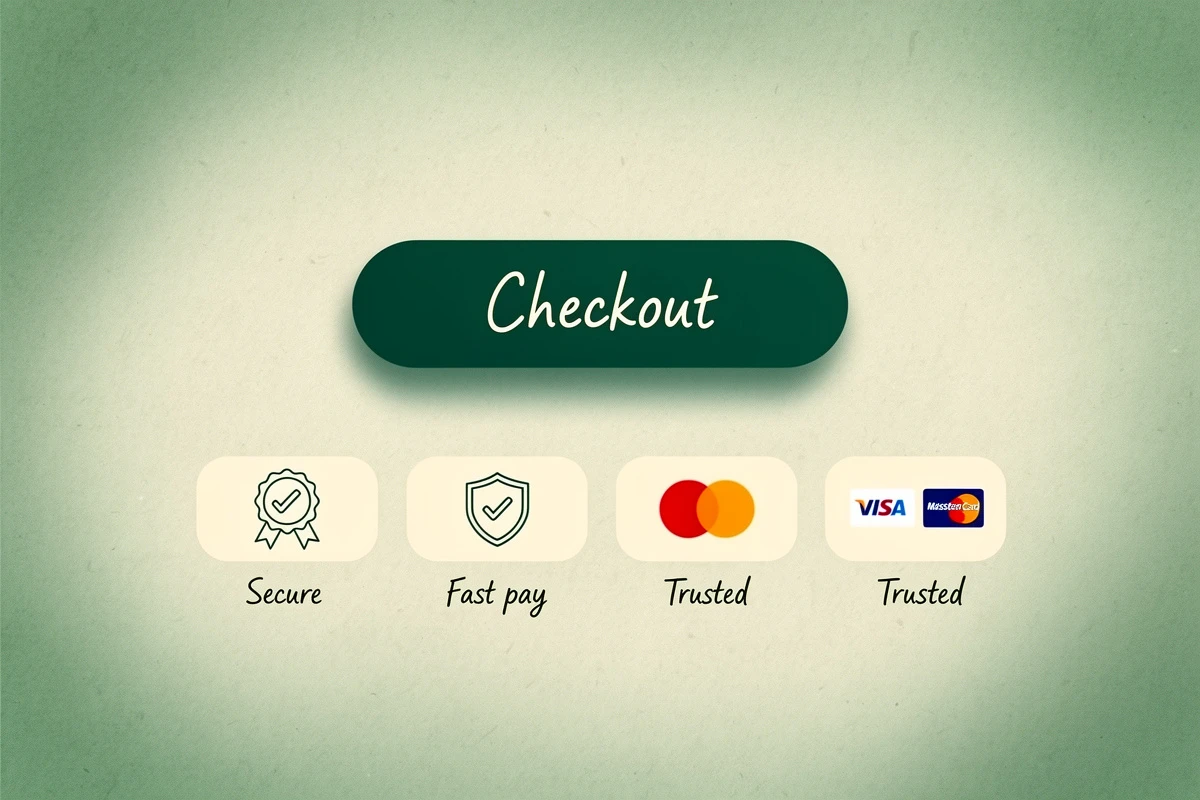
Step 4: Enable Trust Badges
According to Baymard Institute, 19% of shoppers abandon their cart because they don't trust the site with their credit card information. Trust badges address this directly by showing customers that your store is secure and legitimate.
EliteCart gives you three layers of trust elements, all configured under Cart Designer → Trust badges:
Payment Provider Icons
Enable automatic detection to show icons for Visa, Mastercard, PayPal, Apple Pay, and other methods your store accepts. These familiar logos signal that your store uses recognized, secure payment processing. You can switch to manual selection if you want to control exactly which icons appear and in what order.
Trust Text
Add a single line of reassuring text below your cart summary. Keep it specific and credible:
- "Trusted by 10,000+ customers"
- "30-day money-back guarantee"
- "Free returns on all orders"
Specific claims with numbers outperform generic statements. If you sell strollers, "Trusted by 10,000+ parents" resonates more than "Trusted by many customers."
Trust Badge Image
Upload a badge image showing security seals, review ratings, or guarantee logos. Combine multiple badges into one image for a clean presentation. The recommended image width is 816px for optimal display.
For multi-language stores, you can set different trust text and badge images for each language—essential when using region-specific certifications like Trusted Shops for Germany or BBB for the US. See the trust enhancers setup guide for detailed instructions.
Time to complete: 5 minutes.
Step 5: Add a Discount Code Field
If your store uses discount codes for promotions, email campaigns, or influencer partnerships, let customers apply them directly in the cart. Without this, shoppers have to wait until checkout to confirm their code works—and that uncertainty causes drop-offs.
Head to Cart Designer → Discounts and enable the feature. You'll have two display options:
- Visible input — The code field is always visible. Best for stores that frequently promote discount codes.
- Discrete text — An "Add discount code" link that expands when clicked. Best for stores that want a cleaner cart design but still want the option available.
You can customize the button color, placeholder text, and error messages to match your brand. The field works with all discount codes created in your Shopify admin—percentage discounts, fixed amounts, and buy-X-get-Y offers.
For details on setting this up, see the discount code field guide.
Time to complete: 2 minutes.
Your Complete Shopify Cart Setup
Here's what your optimized cart now includes:
| Feature | What It Does | Revenue Impact |
|---|---|---|
| Branded design | Builds trust and consistency | Reduces abandonment |
| Reward bar | Motivates higher cart values | Higher AOV |
| Upsell flows | Suggests relevant add-ons | +10-30% revenue |
| Trust badges | Reduces purchase anxiety | Up to 32% conversion lift |
| Discount field | Removes checkout friction | Fewer drop-offs at checkout |
Each of these features takes just a few minutes to set up, but the combined effect is significant. You're removing friction, adding incentive, and building trust—the three pillars of cart conversion.
Next Steps for Your Shopify Cart
Once these basics are in place, monitor your results for a week or two, then consider these next-level optimizations:
- Refine your reward thresholds — If more than 80% of orders qualify for free shipping, your threshold may be too low
- Add more upsell flows — Cover your top-selling collections with targeted recommendations
- Test upsell display types — Try switching between gallery and carousel to see what your customers prefer
- Enable product savings display — Show compare-at prices in the cart so customers see the value of their discounts
Your cart shouldn't just hold products—it should sell them. These five steps take under 30 minutes and set the foundation for a cart that actively drives revenue. Start with step one and work your way through. Each feature compounds on the last.